Mastering robotic welding programming: a comprehensive guide
How to set up a robotic welding cell — and where vision-guided systems change the picture.
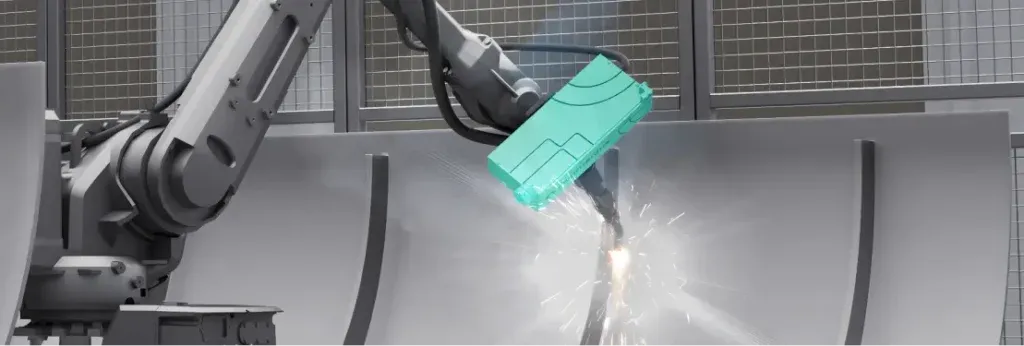
Robotic welding has been a staple of automotive manufacturing for decades, but it's only in the last few years that it's become broadly accessible outside high-volume body lines. The bottleneck for small and mid-sized fabricators has always been programming: every joint, every fillet, every variant.
How robotic welding actually gets programmed
A typical robotic welding setup includes:
- The robot arm with welding torch attached.
- The power source and wire feeder.
- Fixturing to hold parts consistently.
- A programming method — pendant, OLP, or scan-driven.
- Quality and safety systems: smoke extraction, fume control, seam tracking sensors.
The programming step is what determines how flexible the cell is. Pendant-taught cells are rigid. OLP cells need precise fixturing. Scan-driven cells adapt to the part as it is.
What scan-driven welding unlocks
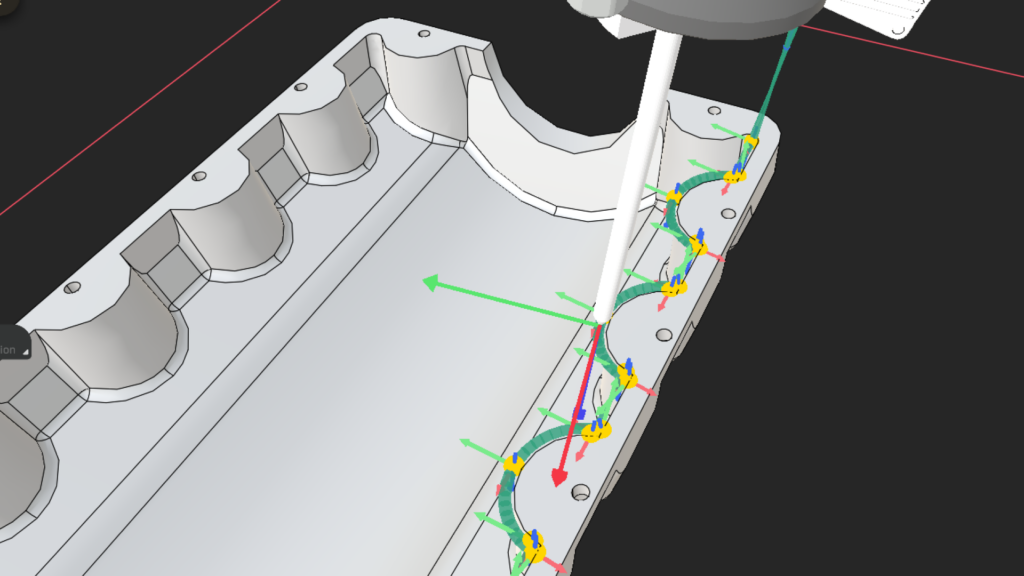
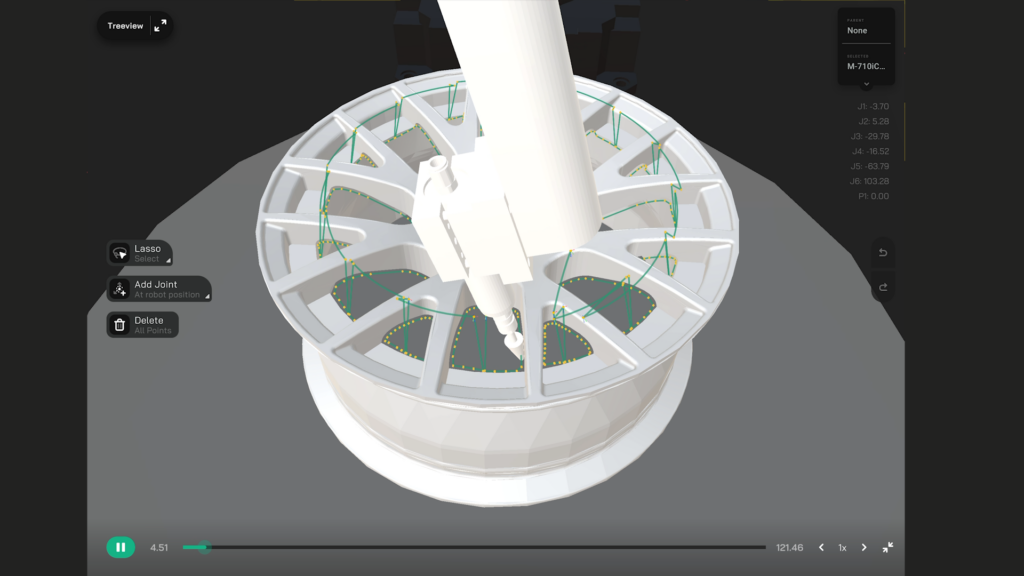
Augmentus' scan-to-weld workflow handles welding for parts that vary — exactly the case that conventional pendant teaching can't sustain. The robot scans the part, locates the joint geometry, generates the weld path, and executes. Vision-guided adaptation handles part deviation at execution time.
For a fabrication shop running mixed work, this means programming for a new variant is no longer a multi-hour task. Load the part, scan, weld.